
Makeup tote tutorial
This post may contain affiliate links which won’t change your price but will share a commission.Here are a couple of cute totes that I made as Christmas gifts for my granddaughters.

My daughter told me they love to play dress-up and put on make up so I had fun making these and finding cute little things to put in them.

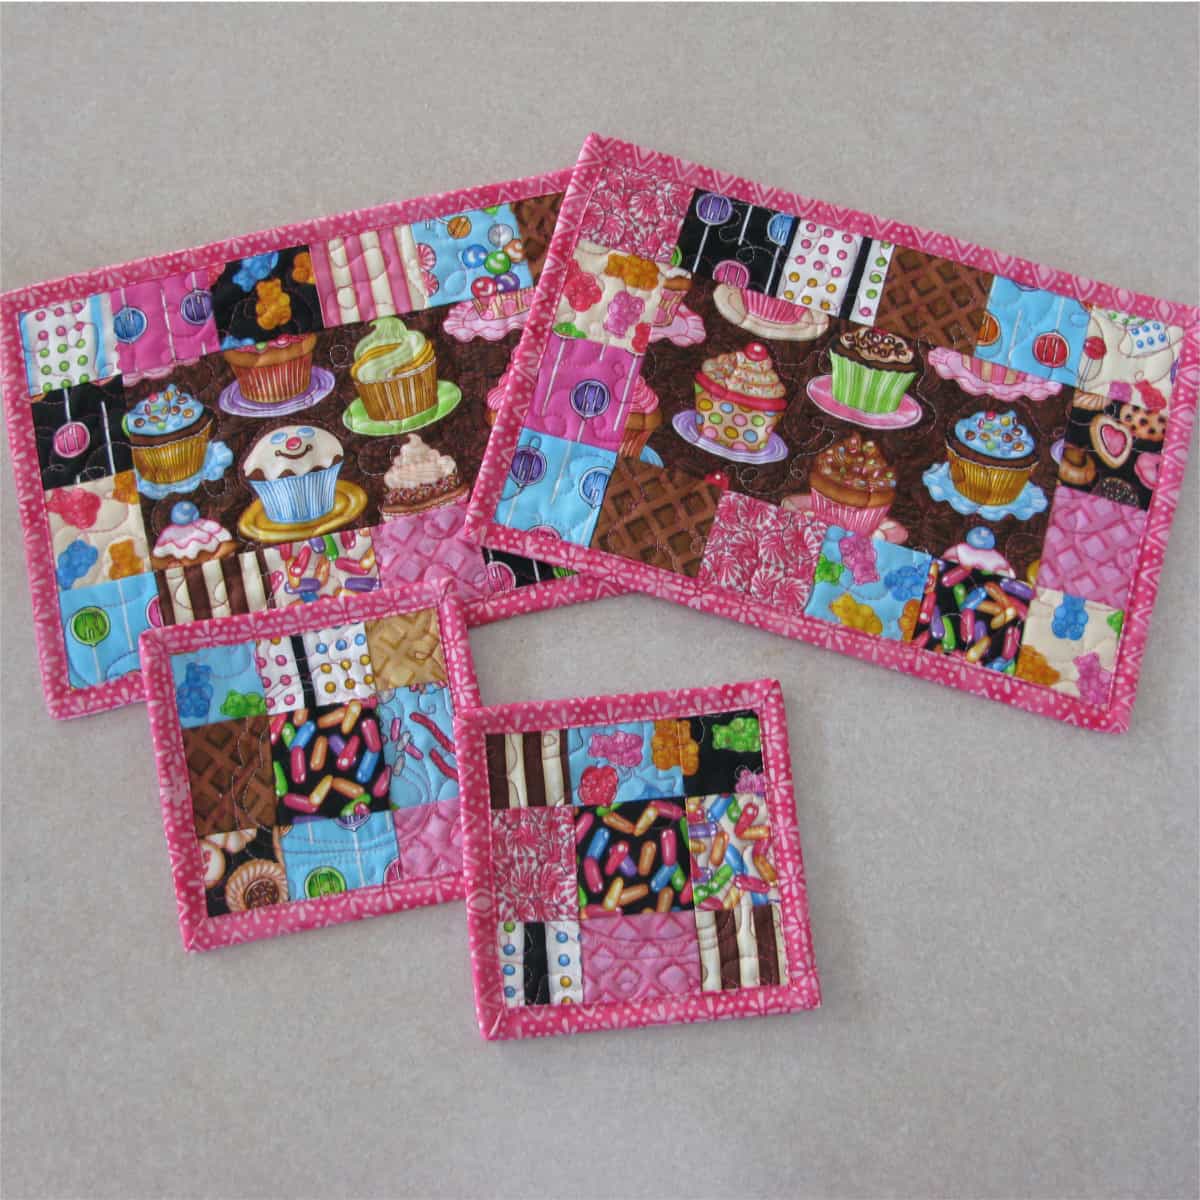
This cute little charm pack called The Sweet Scoop by Dan
Morris was perfect to use…..gummy bears, licorice….all kinds of candy! There were 38 pieces and I cut
them into 2 1/2 inch squares.

This is the same charm pack I used to make my granddaughters place-mats and mug rugs. If you missed that post just click here.

I cut my charms in fourths to give me 2.5 inch squares and sewed them into rows of 5 as shown below. I used 8 rows for the bags.

After sewing all the squares together you will have a piece that is 10.5 inches by 16.5 inches.

Cut your batting and backing slightly bigger than the front piece and quilt.

Here is the quilted tote piece. Sometimes I make totes this way…….sometimes I make the lining separate…..your choice.

I zig-zagged the edges.

I didn’t pay attention to the way I sewed the squares together……thank goodness these are for my granddaughters!

I’m just going to show some photos of how I attached my zipper. I always buy zippers longer than I need…..I stock up when they are 50 percent off. I haven’t looked but I would imagine there are tons of tutorials for putting in zippers on YouTube if you have never added a zipper.
I placed my zipper face down on the front of the tote, notice the bottom of the zipper for positioning….I really need to do a better tutorial on zippers.

After stitching it down, fold the zipper to the right side.

Then top stitch and repeat for the other side.

Cut off the end of the zipper AFTER stitching across the end of zipper.

I cut a strip for the strap that was 2.5 inches by 24 inches long, then folded the edges to the center and pressed.

Then I added a 1 inch strip of batting.

Fold and match the edges and then stitch on both sides.

This is how I attached my strap….BUT…..if you look at the last photo where the the tote is hanging you will notice that the straps don’t hang right. Since the totes were going to a 3 year old and a 5 year old….I figured they wouldn’t notice. Next time I’ll fix this.

Here you can see the straps added, the zipper open and the sides seams sewn.

To make your tote stand up on it’s own you want to box the corners. I measured up 1 inch from the edge. You can trim the seam or leave it as it is. Turn your tote right side out and you’re done!

Here is the finished tote with straps. The girls really loved them!


Looking for another great Valentine Heart free pattern?
Get this one
Pieced Heart Quilt


Just saw this tut from your Linky Tuesday sidebar….I'll let you know when mine is done! This is what I need to do for a night or two stay and I want to make one for here at home for when my grand daughters spend the night…they don't have to bring common toiletries…they will already be here and just for them. thanks for the idea!
Those are so cute!
I am getting ready to make this cute bag for a little girl. You mentioned a problem with the way it hangs. What do I need to do to remedy this problem? Thank you for the tutorial!
Pat
I am ready to make this cute makeup tote for a little girl. You mentioned a problem with the straps not hanging correctly. What do I need to do to correct that problem? Thank you for the tutorial! How very cute.
Pat
swcomsvc@gmail.com
Those are so cute! Very well done.
Cute as can be. You always have some really great projects going on. Lots of inspiration. Thanks!!
Oh my that is just too adorable. thk for sharing.
Very nice projects, so cute for little girls! And thanks for the tutorial, I'm surely going to try this and I think I can use my serger for finishing the seams!
Thank you for this nice tutorial. So sweet they are, and I must think about finding time to do one.
We just got invited to my cousin's daughters 10th birthday party and I want to make her something special. This idea is perfect! Thanks so much.
So cute! Thank you for sharing with the Clever Chicks Blog Hop this week; I hope you’ll join us again!
Cheers,
Kathy Shea Mormino
The Chicken Chick
http://www.The-Chicken-Chick.com
Lovely bags!! Thank you for the tutorial,Connie:)
Darling totes. Bet your DGDs felt like real "big girls" b/c they had their very own bags. Nifty gift idea for the young set. Thanks.
these are great and I love that you filled them up with goodies.
You are giving me such great ideas for my little granddaughters – thank you so much! I guess I'm going to have to bite the bullet and learn how to put in zippers again, lol! It's been probably 25 years or more since I've done one…
These are really cute! What a great idea for any age! What would you do differently for attaching the strap? Make a tiny boxed corner at the top and insert the strap ends?
Just adorable, Connie!!! I hope you don't mind, but I've pinned these.
Hi Connie, Those are so cute. You do a great tutorial, You make everything go together so easy! Thanks again.
Hola.
No sólo los bolsos están hermosos ¡son todos tus trabajos!
ya soy tu fiel seguidora.
un abrazo desde CHile!
http://www.manualidadespoly.blogspot.com
Connie, these are fabulous. F only I could sew a zipper
These are adorable Connie, and what great gifts for little girls!!
Those are really cute, Connie. I always have trouble attaching straps so they are going the right way. 😀
Great tutorial Connie — and Love the totes!
Thanks for sharing.
Karen
Oh my gosh are they ever cute!
They are cute little totes. All I need now is a granddaughter. I think I might make one or two of these to use as prizes for the competitions we run at Rainbows and Brownies (5 – !0 year olds.)
Fabulous bags and tutorials! The girls must have loved these!
You have given me that ahaa! moment! I have not been able to understand the zipper concept in a bag until now! Thanks so much!
Very cute Connie and a great tutorial. I think this could work great for an adult too. Maybe a little larger.
VERY cute! Thank you for the tutorial.
Lovely bags!!
Thank you for the tutorial!!
These are too cute Connie! Your gd's are lucky little girls.
What a great idea for a granddaughter! I should make one!
Lovely bags, just right for my greatnieces birthdays – thanks for the tutorial.
It is perfect. I love a patchwork bag. How fantastic.
These are super cute! I bet they will carry all kinds of fun things in them, too!
Super cute bags and so fun for the granddaughters! Thanks for the tutorial!
These are adorable Connie! I have to make one for my granddaughter!!!
These totes are adorable Connie
too cute!! hmm I need to look for nice zippers now
Just loving these bags, Connie!! Thanks for the tutorial!!